
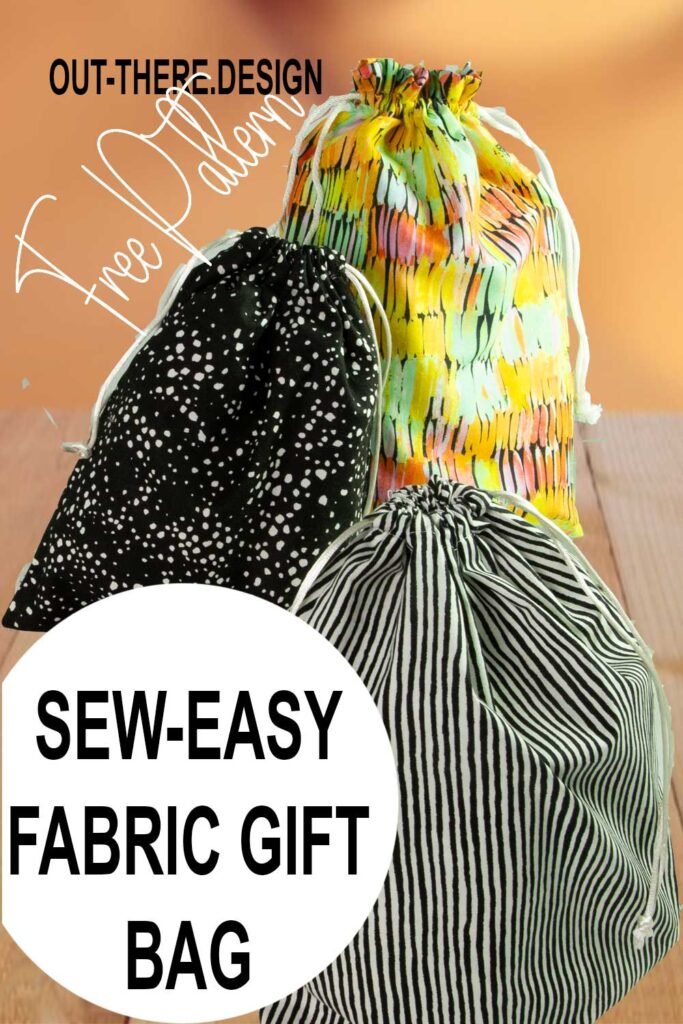
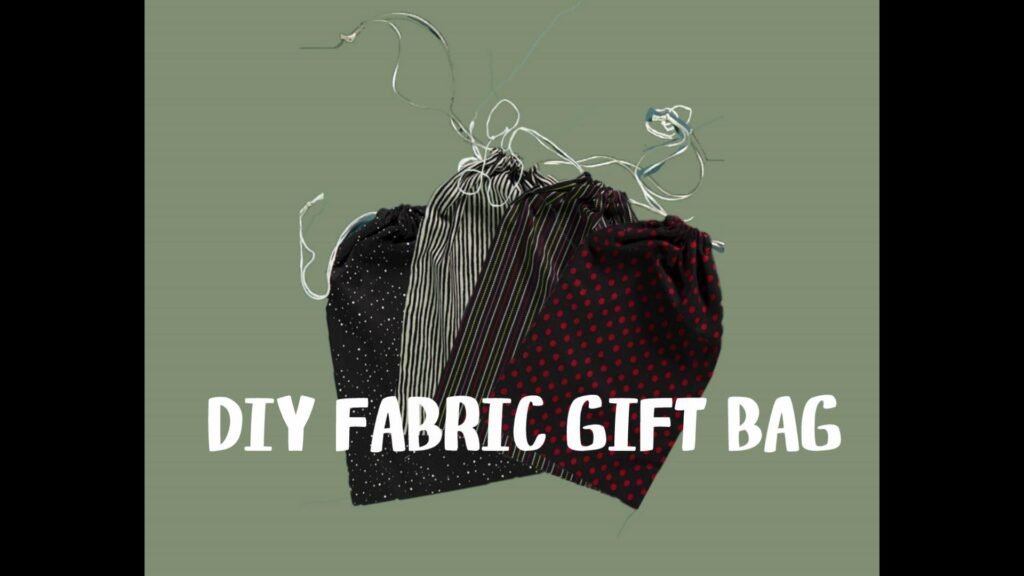
DIY Reusable Fabric Gift Bags
Go eco-friendly by creating your own Reusable Fabric Gift Bags. It’s fast, it’s easy.
Make expensive and environmentally unfriendly wrapping paper obsolete. Instead, wrap your presents with love in fabric gift bags you make yourself. It takes no time and the bags can be used year after year. The gift bags speed up your gift wrapping sessions.
Follow these step-by-step instructions to make your own Fabric Gift Bags!
Fabric and Tools:
You can use almost any fabric for your bag, but I recommend quilting fabric. It’s easy to work with and there are a zillion and one choices. Treat yourself to an hour or so of visual treats in the fabric store and find the right look for your first fabric bags. Or, visit your stash and pull out something perfect for your next gift giving occasion.
For each bag you will need 2 pieces of fabric, each a little larger than your desired finished bag.
The bag is finished with a drawstring which is a little longer than 4 times the width of your finished bag. You can choose a ribbon, string, cording or something similar for your drawstring.
You will need a sewing machine and basic sewing supplies, thread, and pins to hold you pieces together as you sew. To thread the drawstring through the channel (tunnel in the fabric at the top of your bag) you will need either a bodkin or a safety pin.
Have a screwdriver available to crease your fabric
Instructions:
BAG SIZE: You can make any size bag. I suggest that you make your first bag something similar to the ones shown here. A 12” x 16” bag is a nice, manageable size for your first bag.
CHANNEL SIZE: Choose the Size of Your Channel: The channel is the fabric tunnel at the top of your bag, the pathway for your drawstrings. If you’re using string or a narrow cording, you can make your channel small, ¾” or so. For a thicker cord you’ll want to make a larger channel. You need to choose the size of your channel so you can cut your fabric long enough to accommodate the channel.
CUTTING:
Cut your fabric the width of your finished bag plus 1” and the height of your finished bag plus 2 ½” to 3 ½” tall. Use the 2 ½” measurement for a short channel for a slender cord and 3 ½” for a wider channel for a thicker cord.
For example, for a 12” x 16” bag with the smaller cord, cut your two pieces of. fabric 13” x 18 ½” high.
For a 12” x 16” bag using larger cord, cut two pieces of fabric 13” x 19 ½” high.
Cut 2 pieces of cord each twice the width of your bag plus 3 or 4 inches.
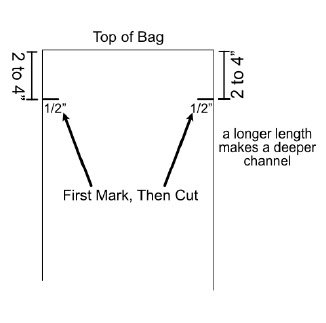
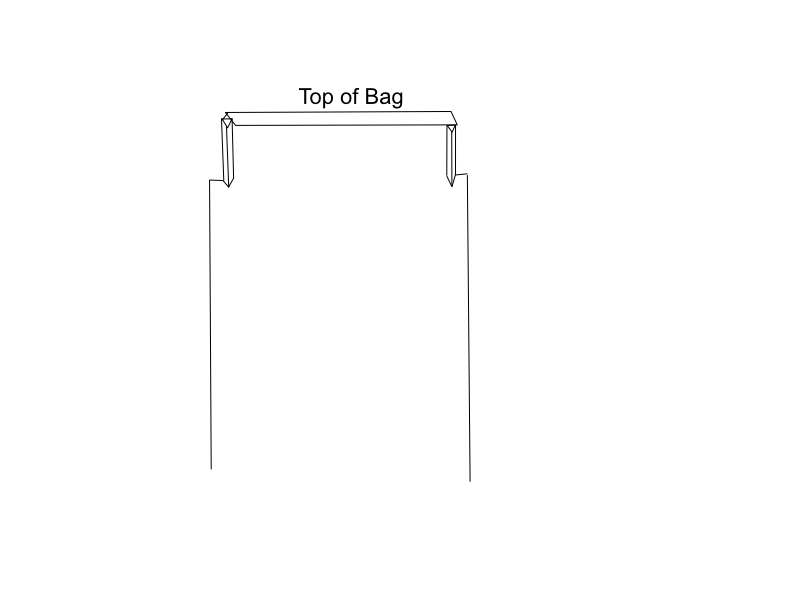
MARK THE TOP OF THE FABRIC:
Measure 2” (3” for a large channel) from the top of the fabric as shown. Repeat on both sides of each piece of fabric..
Draw a mark from the edge of the fabric towards the center, ½”.
Cut on each of the marks.
Repeat on both sides of each piece of fabric.
MARK THE TOP OF THE FABRIC:
Measure 2” (3” for a large channel) from the top of the fabric as shown. Repeat on both sides of each piece of fabric..
Draw a mark from the edge of the fabric towards the center, ½”.
Cut on each of the marks.
Repeat on both sides of each piece of fabric.
Use the screwdriver tip of a screwdriver to draw lines on your fabric. The small creases the end of the screwdriver makes in the fabric will make it easier to accurately fold the fabric.
Using the screwdriver, mark a crease in the fabric parallel to the sides ½” from the edge of the fabric and another mark ¼” from the edge.

With your screwdriver draw a crease on the top edge of the fabric pieces ¼”.
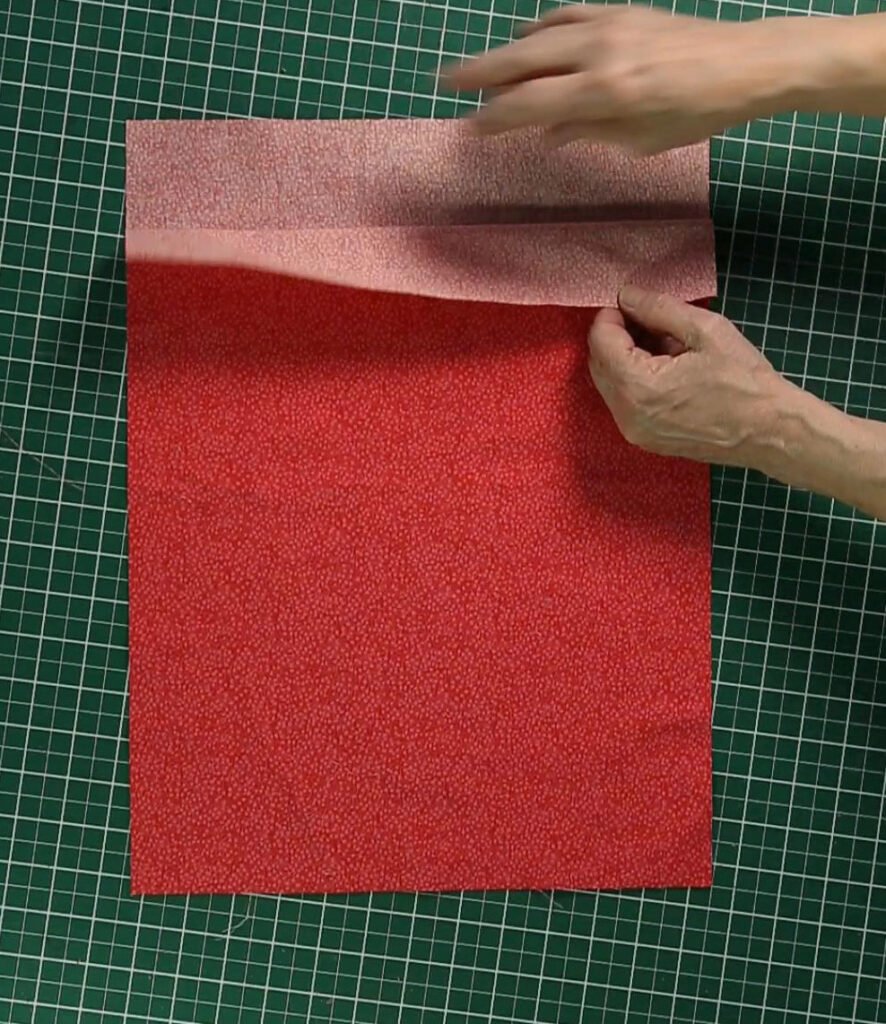
Fold in the top edge.
MAKE THE CHANNEL
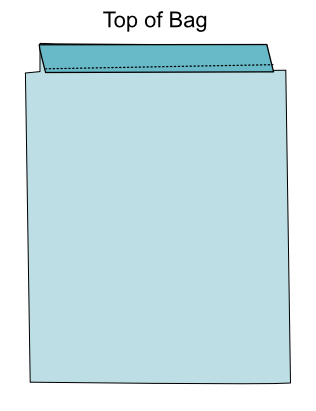
On each of the two pieces of fabric, fold the top, un-sewn edge of the fabric in half, towards the wrong side of the fabric. Sew down on the bottom edge.
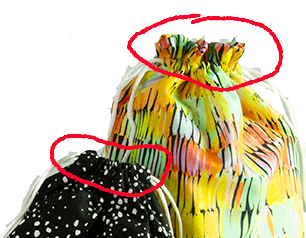
The instructions on this page are for a plain topped bag (on left above). By adding a few more steps you can make a ruffled top bag (right above). Click here for the additional instructions
ASSEMBLE THE BAG
Place the two fabric pieces together, wrong sides together.
Sew around the 3 sides 1/8”from the edge.
Turn the bag wrong side out.
With the bag right sides together, sew around the three sides again, 1/4” to 1/2″ from edge. Start your stitching below the outside edge of the channel as shown.
On the second stitching (where the fabrics are right sides together) make sure your stitching is far enough from the edge to cover the fabric from the first stitching.

THREADING DRAWSTRINGS
Watch the video or go straight to the written instructions (below the video).
ADDING THE DRAWSTRING
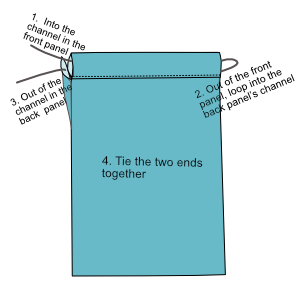
(1) Thread one of your two cords through the channel in the front of your bag, till it comes out the other side. (2) Loop the cord and thread it into the back channel, keep threading it through the channel to the first side of the bag (3).
Make a knot with the two ends of the cord.(4)
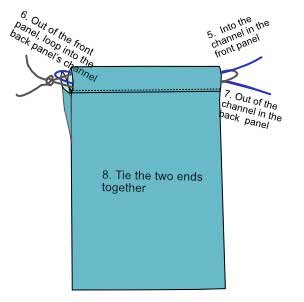
(5) Starting on the side opposite the side with the knot, thread the second of your two cords through the channel in the front of your bag until it comes out the other side. (6) Loop the cord and thread it into the back channel and through the channel to the first side of the bag (7). (The second cord is shown in blue)
Make a knot with the two ends of the cord.
DOWNLOAD INSTRUCTIONS:
4 responses to “DIY Reusable Fabric Gift Bags”
-
Thx
-
[…] for changing the topof your bag from plain to ruffled.You can find the main instructions by clicking here […]
-

My brother suggested I might like this website. He was totally right.This post actually made mmy day. You caan not imagine simply
how much time I had spent for this information! Thanks! https://Www.Waste-Ndc.pro/community/profile/tressa79906983/-
Glad you like it. Stay in touch
-

Leave a Reply