Fixing Drywall- A DIY That You CAN Accomplish
It’s easy to achieve the home of your dreams if you have an unlimited budget but if you’re like me, you have to do a lot of the work yourself. Luckily, fixing drywall is one of the things is easily accomplished. Fixing drywall is within your reach.
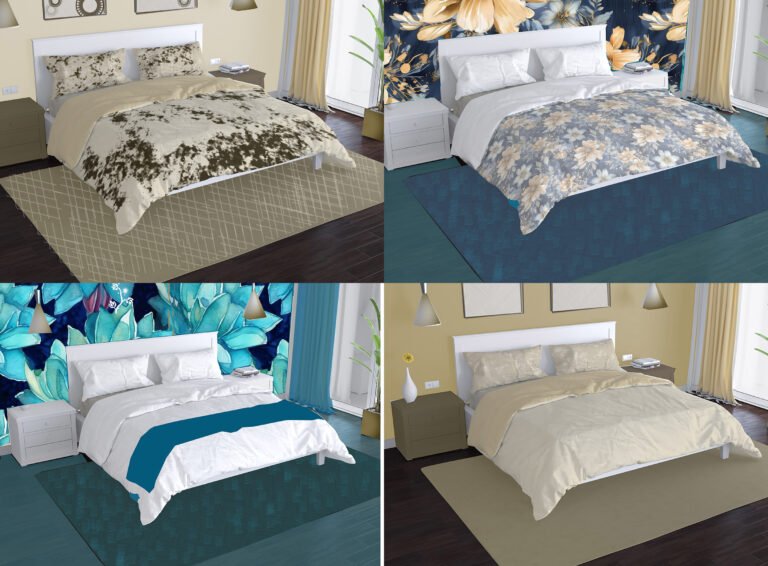
Imagine waking up every day in a space that feels like your own personal retreat. Create a stylish, serene sanctuary with a few simple changes. You can project your unique personality and taste in your bedroom decor.
Recently I decided to transform my space from drab to fab. My goal- upgrading from the “laundry explosion” style to “tres chic.” I was tired of living in a room that resembled the “before” section of a home makeover show.

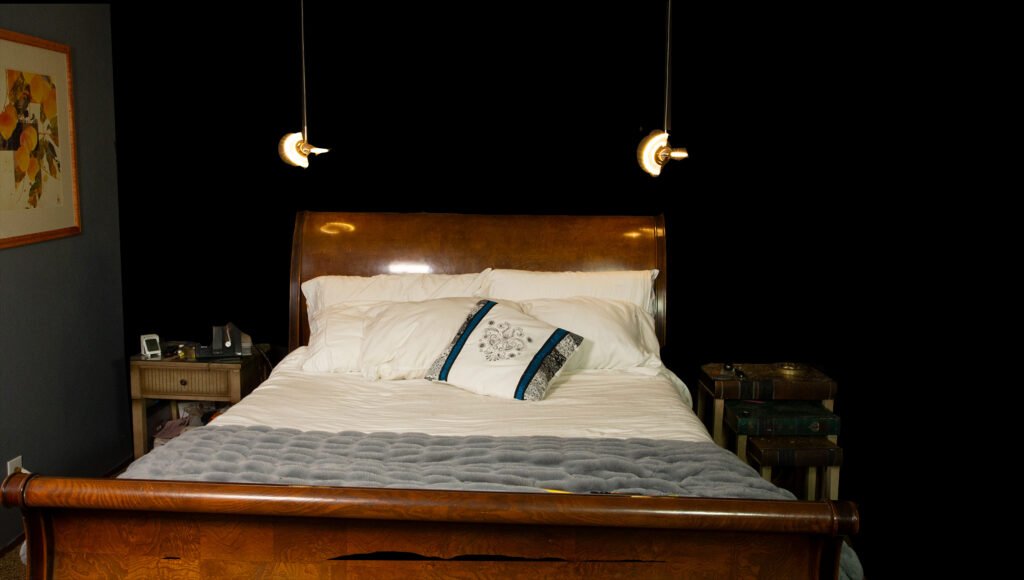
My first step was replacing the lamps on my nightstands with hanging lamps (the first in a series of “one step forward, two steps back” actions.)
Starr did the electrical work. She donned a Tyvek jump suit to run wire through the crawlspace under the room to the wall. What she hadn’t counted on was how shallow the roof space was at the outside edges of the room. Even Starr’s agility couldn’t get the wire through the room into the walls. The only solution was to cut multiple holes.
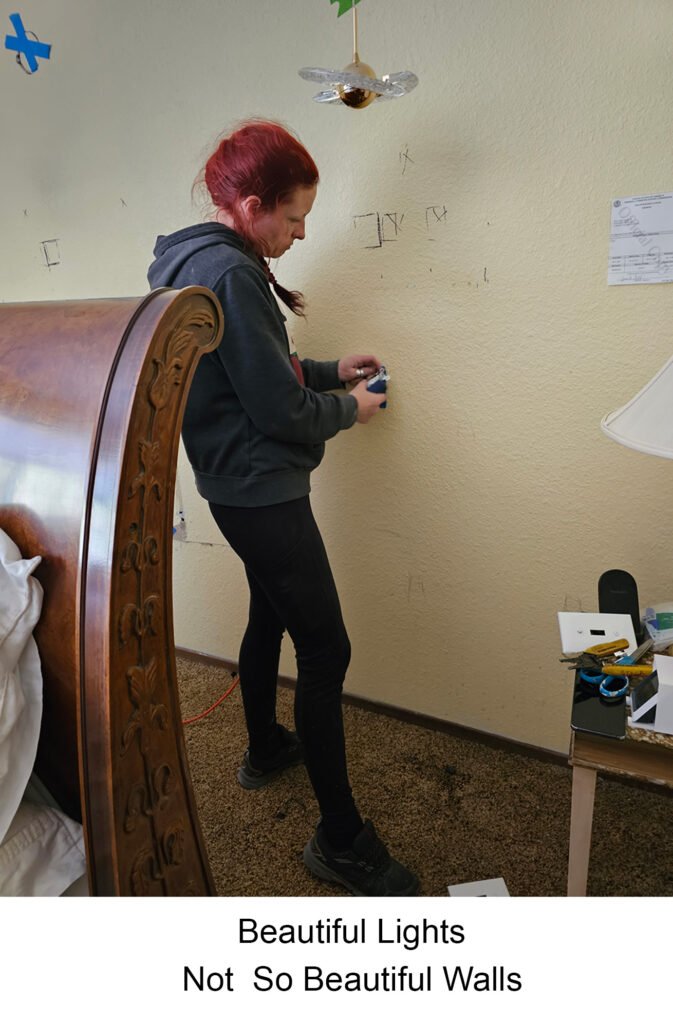
I lived with exquisite lights hanging over shredded walls for over a year.

Time for a change
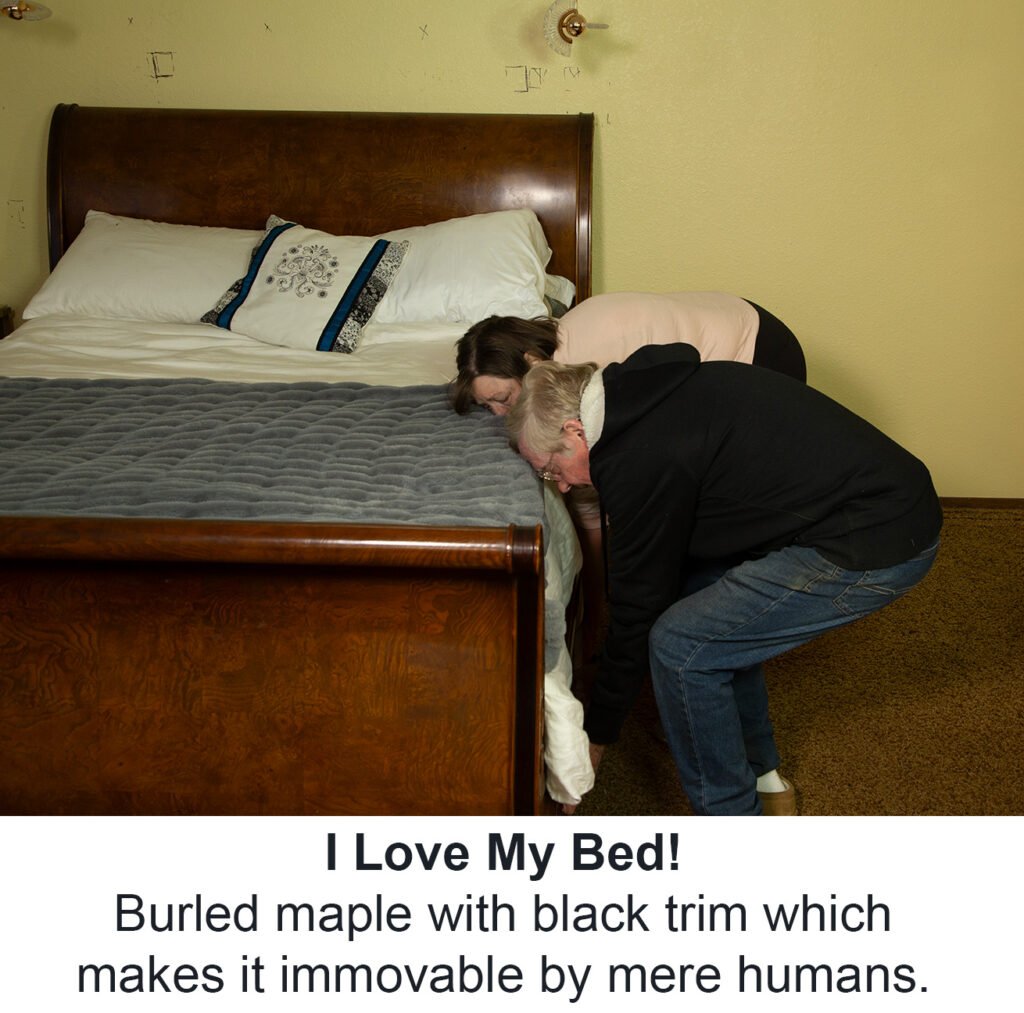
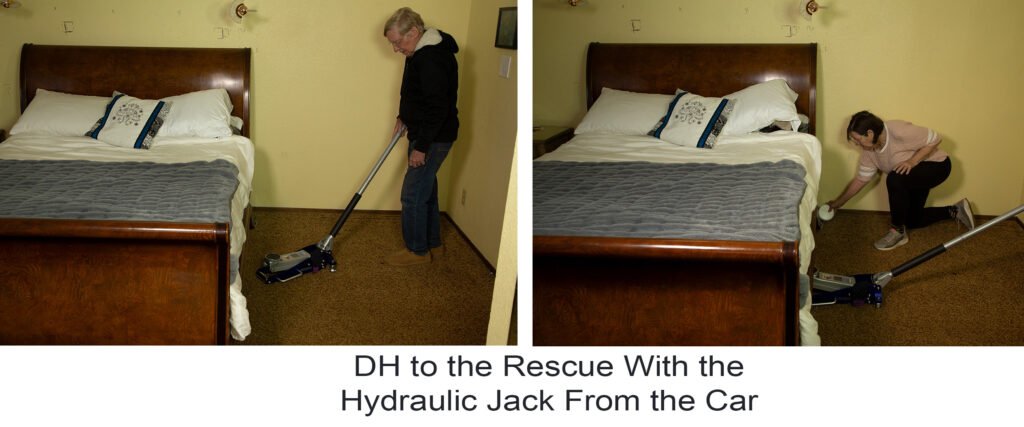
Step 1: The first step was to move the bed away from the wall. Unfortunately, my husband and I, being puny humans, were unable to achieve that feat.
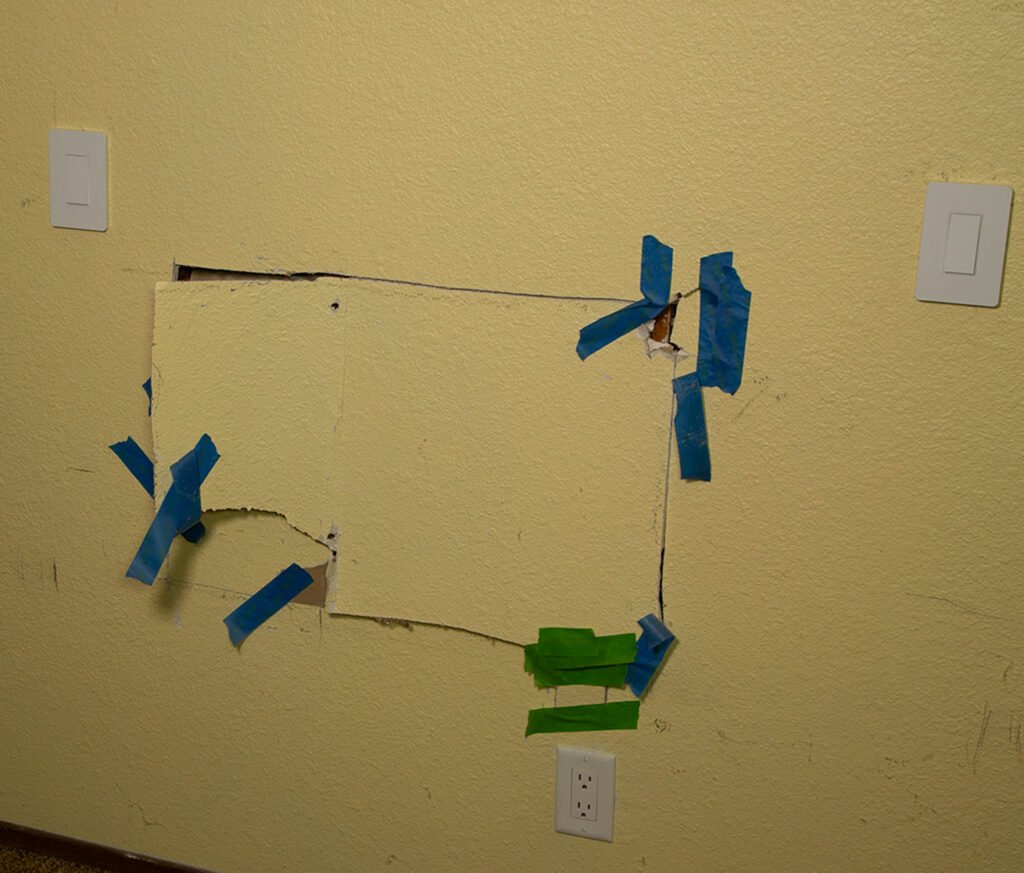
The holes were behind the headboard of the bed but they really needed fixing!
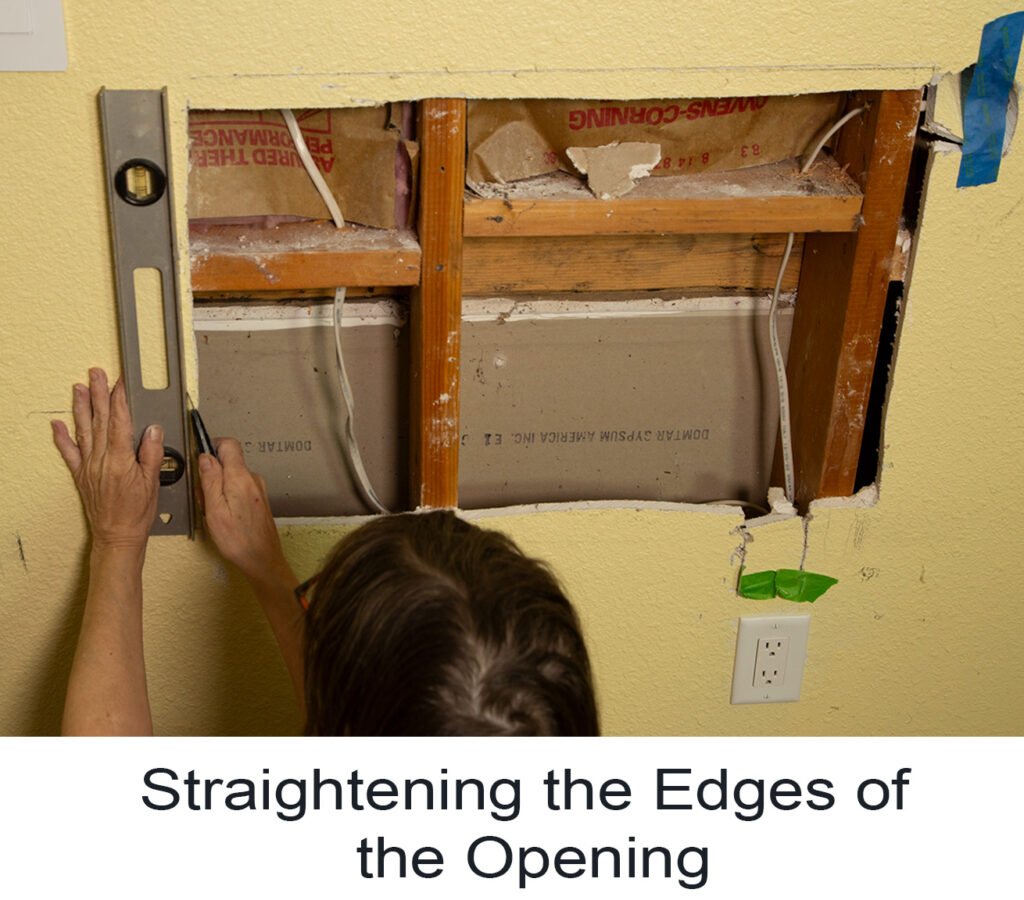
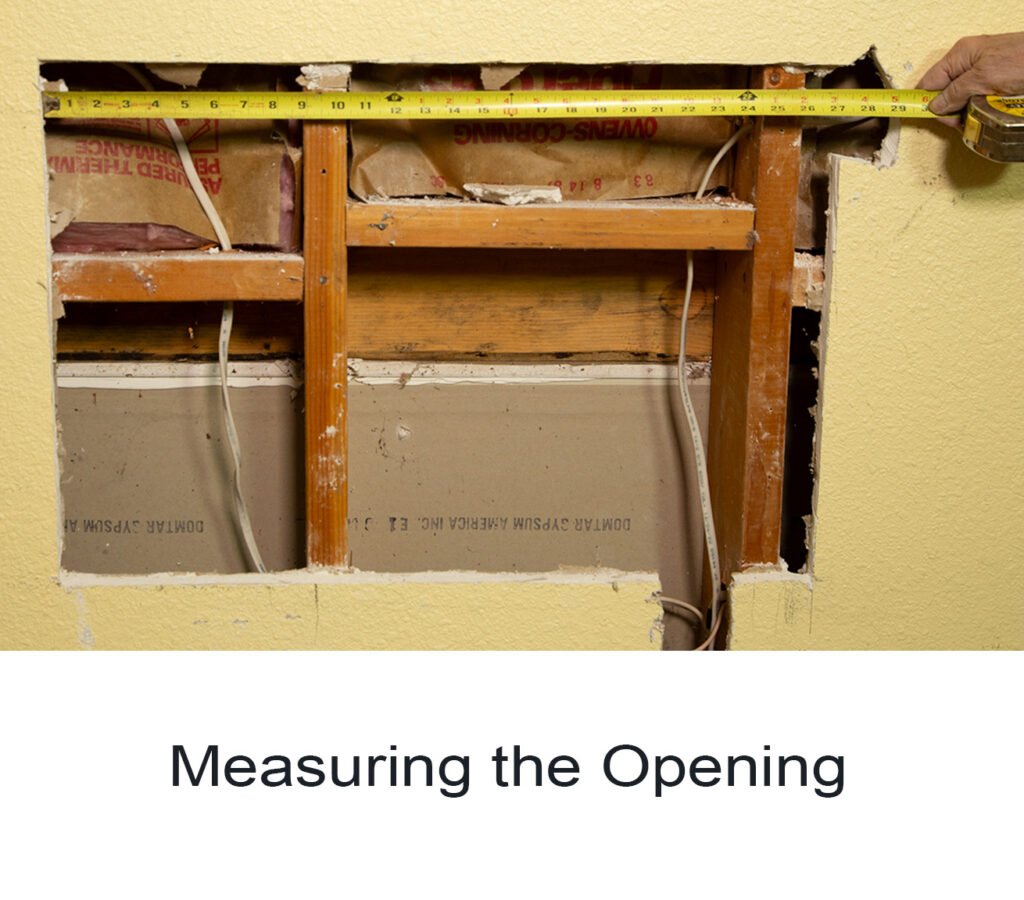
Step 2: Using a level, a ruler and a box cutter straighten out the edges of the opening and measure the rectangle.
Perhaps you are a better hole maker than Starr and me but the mess I uncovered when I moved the bed did not resemble a rectangle at all.
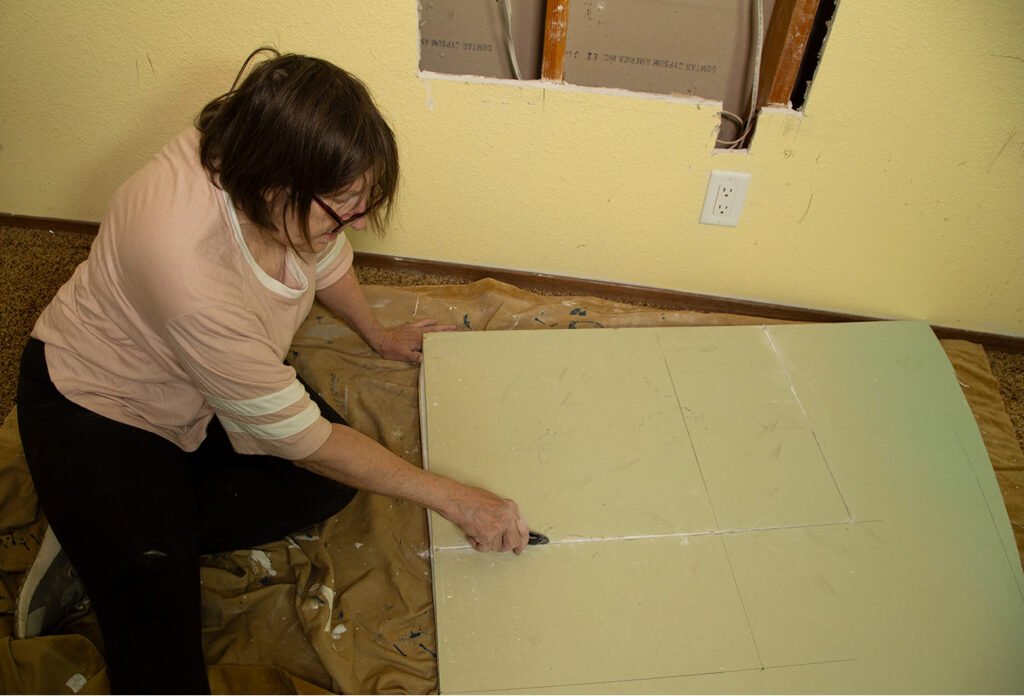
Step 3: Using a boxcutter, cut a new piece of wallboard the size of the opening.
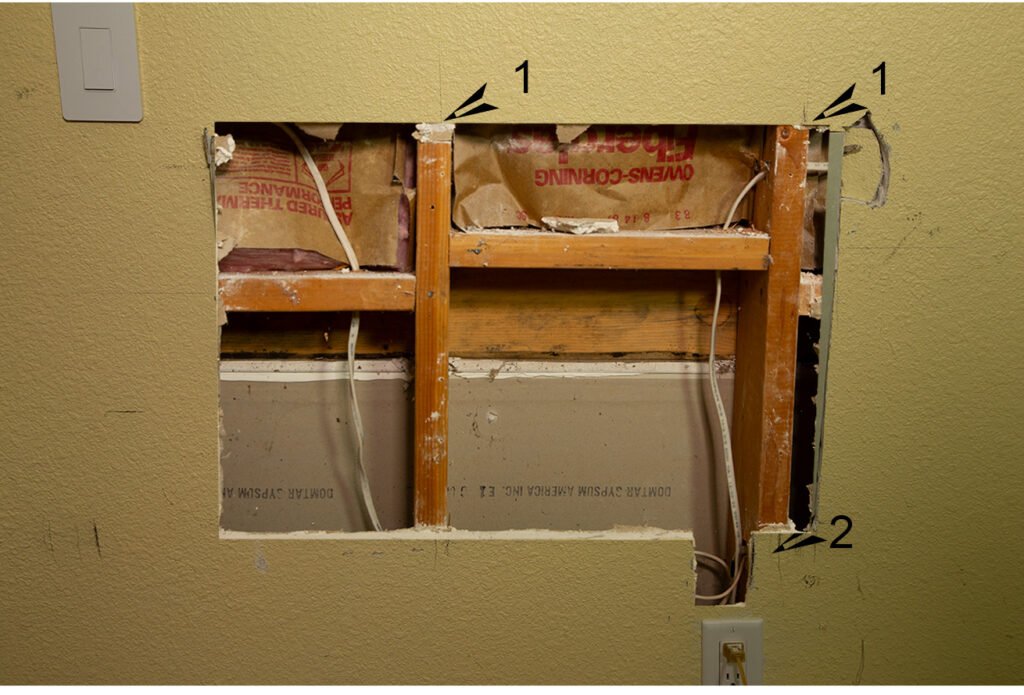
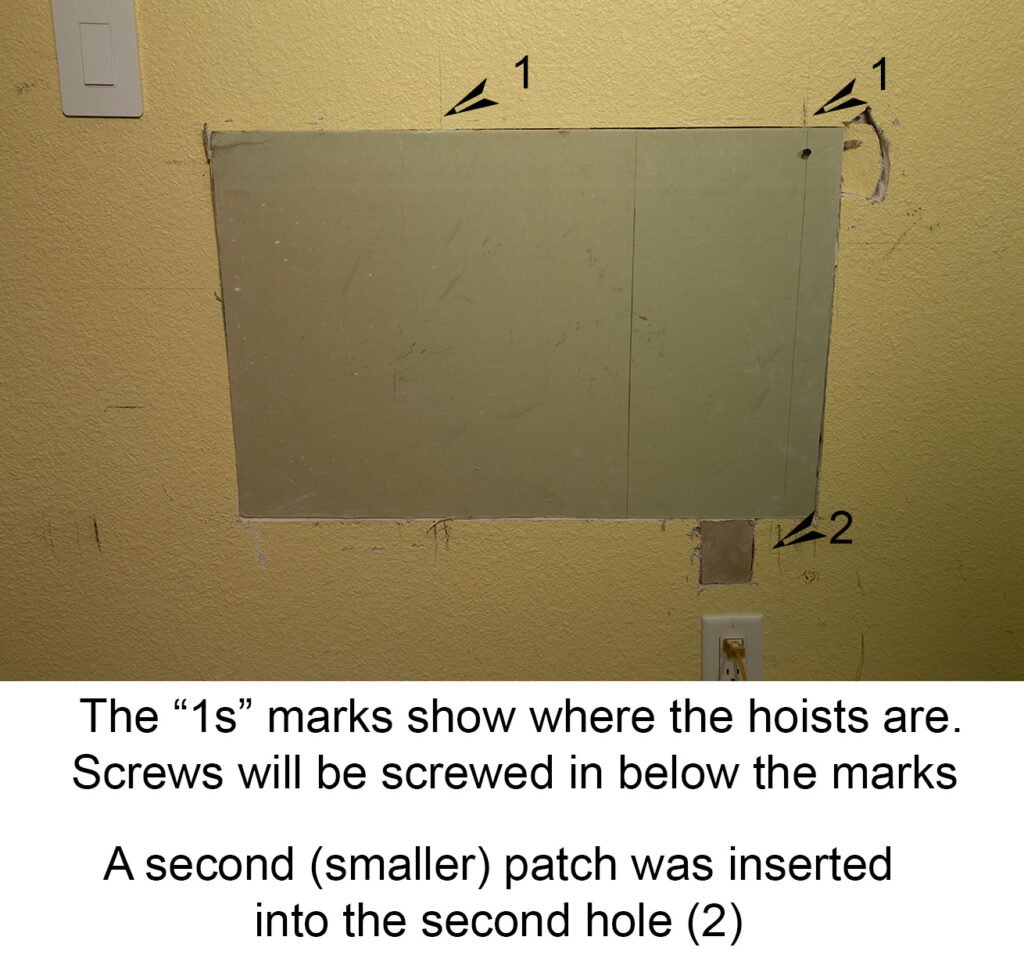
Using a pencil, draw lines on the wall above the joists (indicated with a “1”).
Prepare a second patch to insert in the small hole (2)
Step 4: Insert the wall board into the hole.
The marks indicated by the “1”s show you where to use screws to go through the wall board into the joists.
The second, smaller, patch was inserted into the second hole.
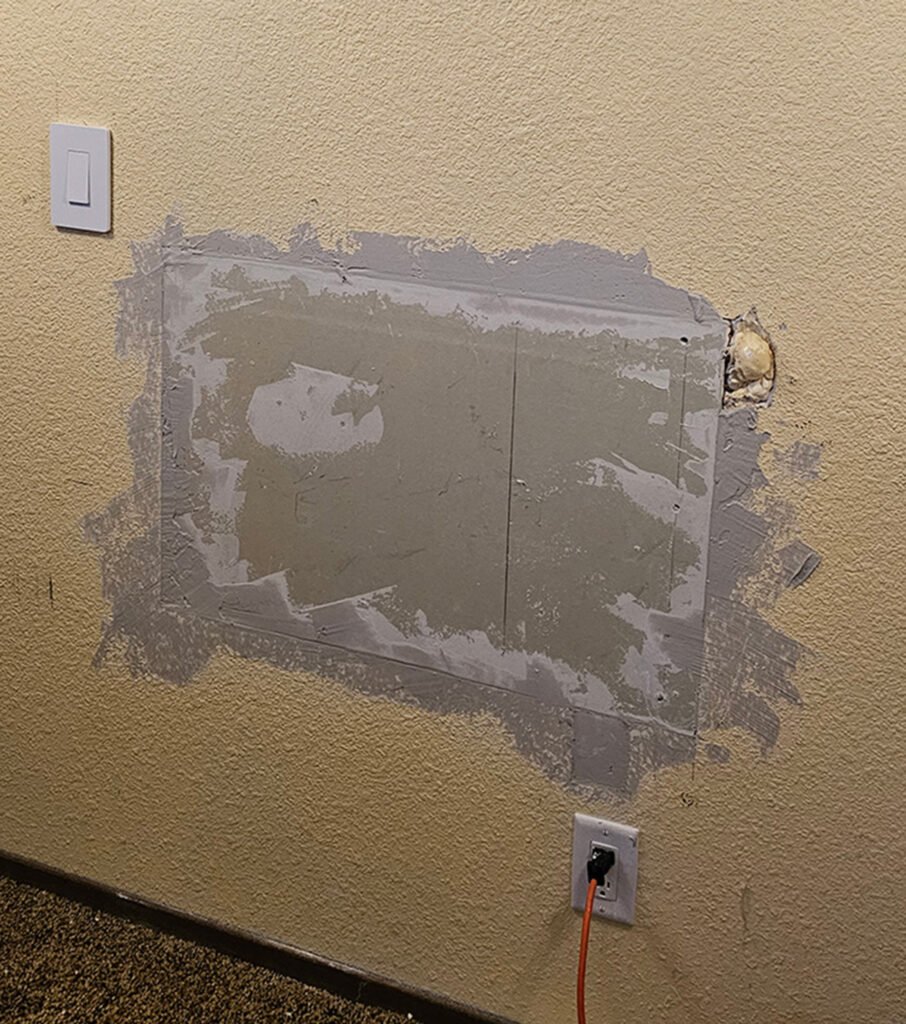
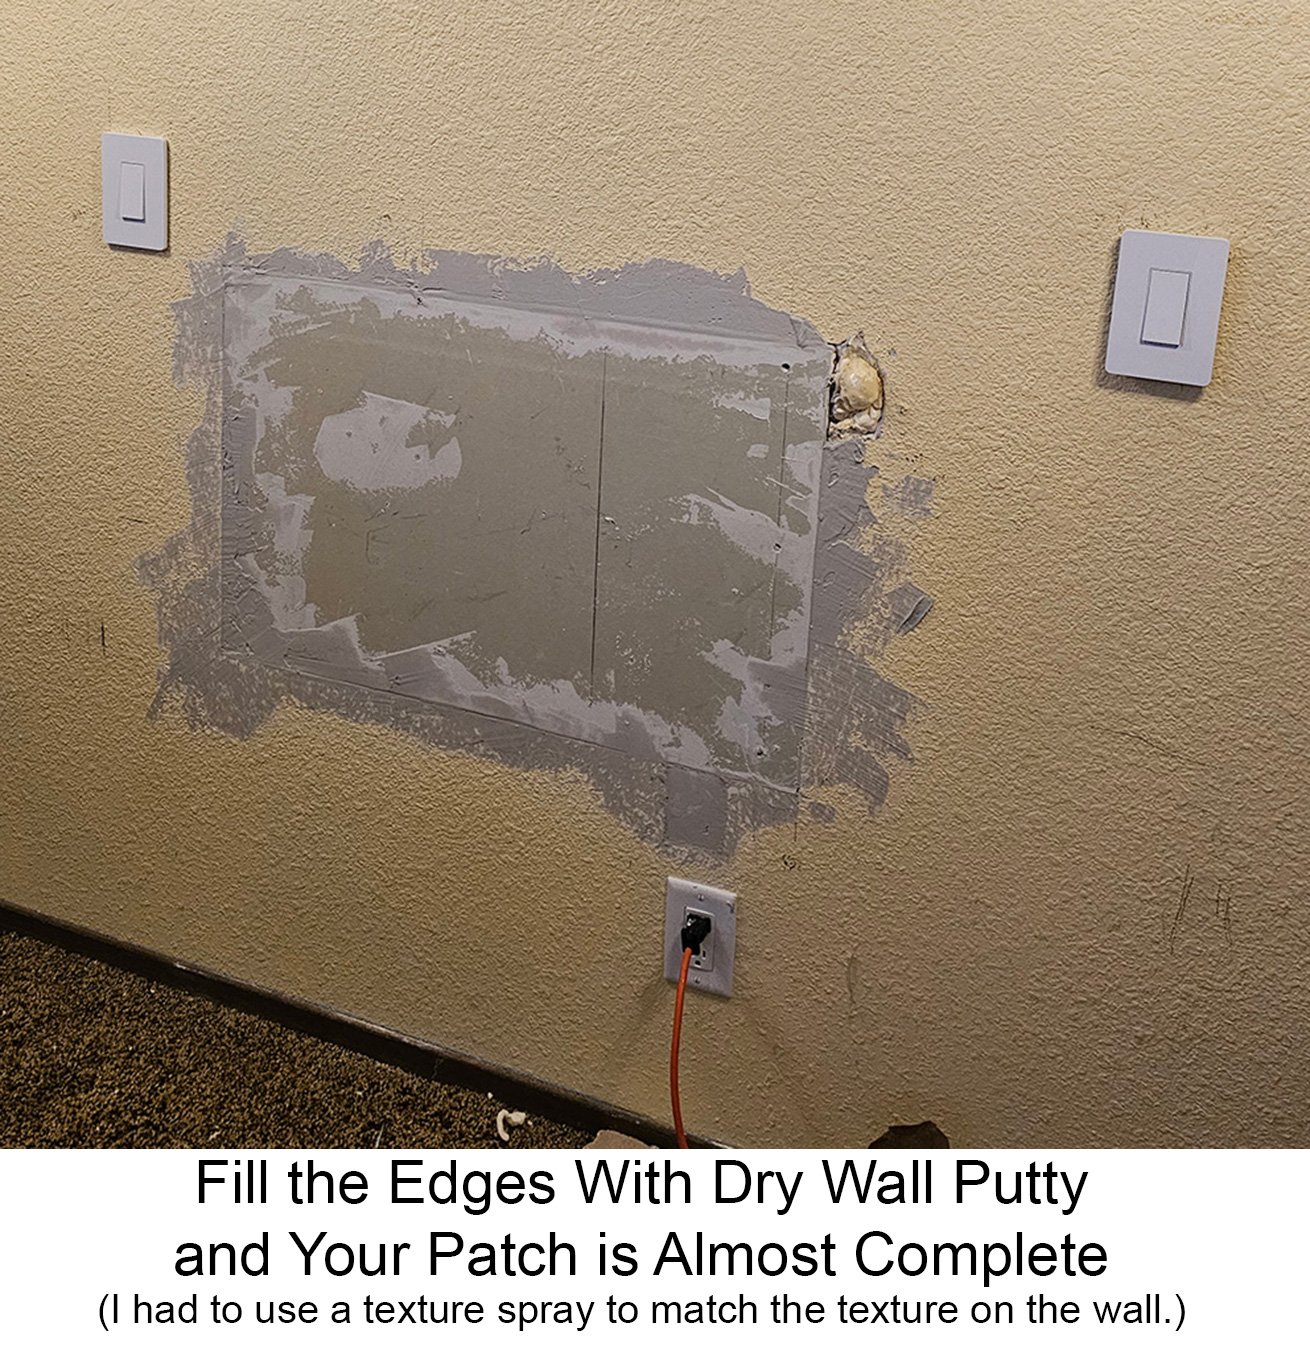
Step 6: Fill the edges around the patch with dry-wall putty (I purchased this pre-mixed.)
If your walls are textured, purchase texture spray and use it on the wall board.
Step 7: Painting. I like painting, it’s a Zen, reptitive action, better than meditation. Meditation doesn’t cover holes in the wall or coffee stains. Painting offered a dramatic change from my Thrift Store Ambiance witha minimal investment. The new colors instantly revitalized the space, laying the foundation for my desired look.
I painted three of my walls elephant gray and one wall the statement wall, black, a dramatic backdrop for artwork and decorative elements.
I plan to cover the black with a mural. I have mixed emotions about that. I have found that I love the black.
As I was describing my choices in a social gathering, several friends were adamant that I would regret the dark room. What they called dark, I called moody and dramatic. So far, I stand firm on my choice.
AFTER
I hung small, round mirrors behind each of the lights. The results were not what I had envisioned. I will have a post about the mirrors. (Coming)
One response to “Fixing Drywall- A DIY That You CAN Accomplish”
-
[…] About a year ago, a pair of hanging lamps I found on the internet bewitched me. Unable to resist their allure, I purchased them and asked Starr (my go-to resource) to hang them, to use instead of the lamps on the bedside tables. The lamps looked great, bu the holes we put in the wall to complete the wiring were unsightly. With the help of YouTube I patched the holes. (Click here to see how I patched the holes) […]


Leave a Reply